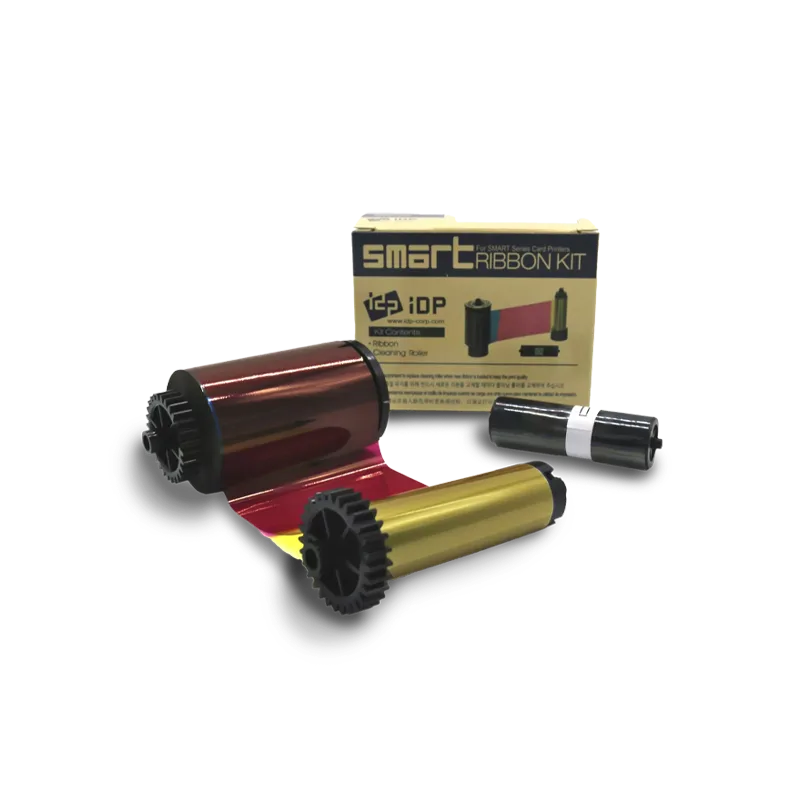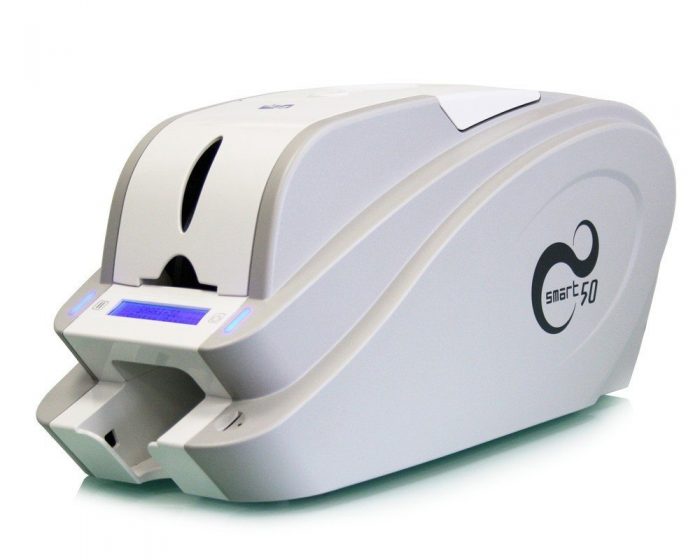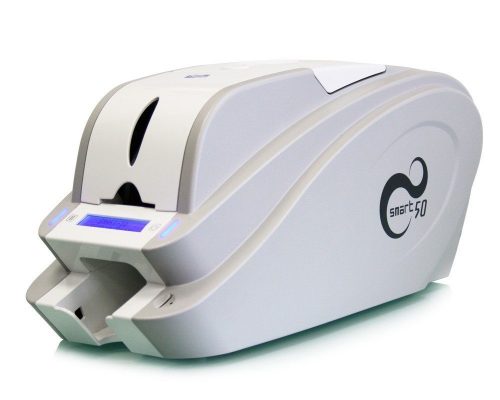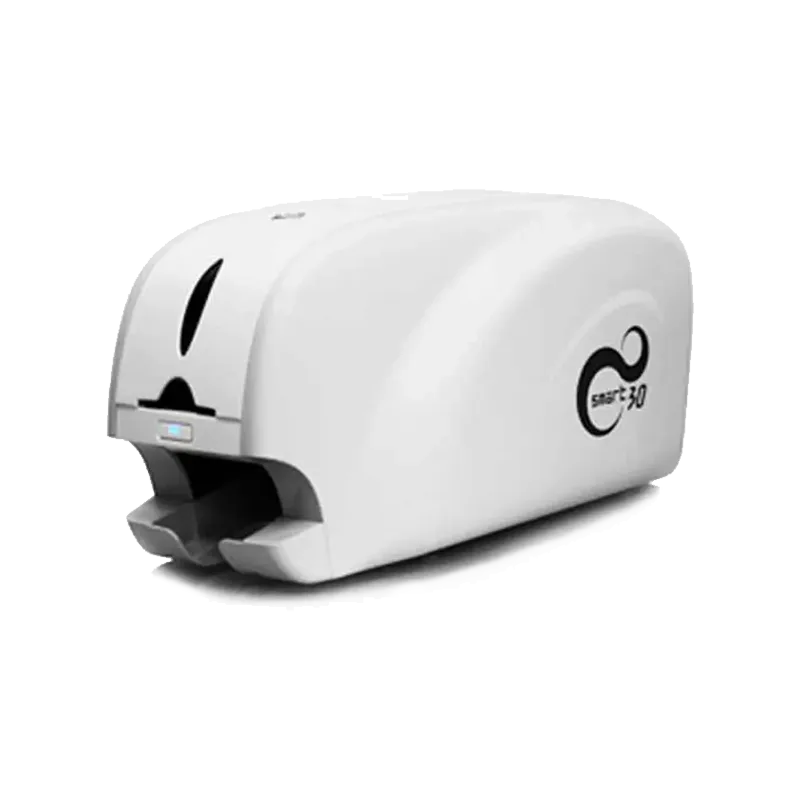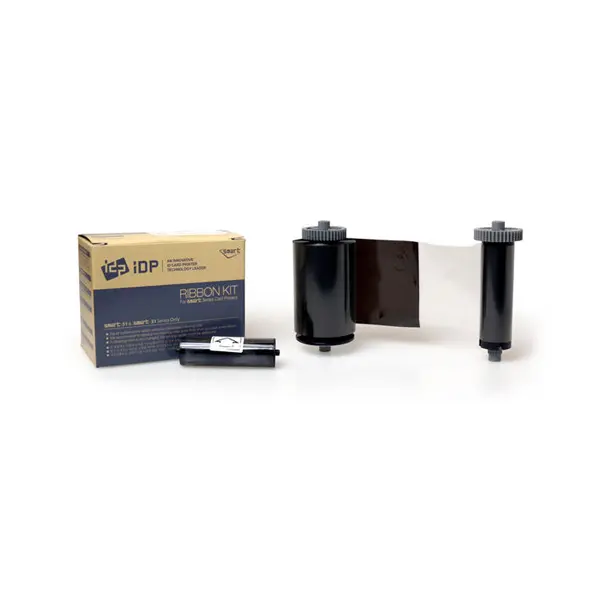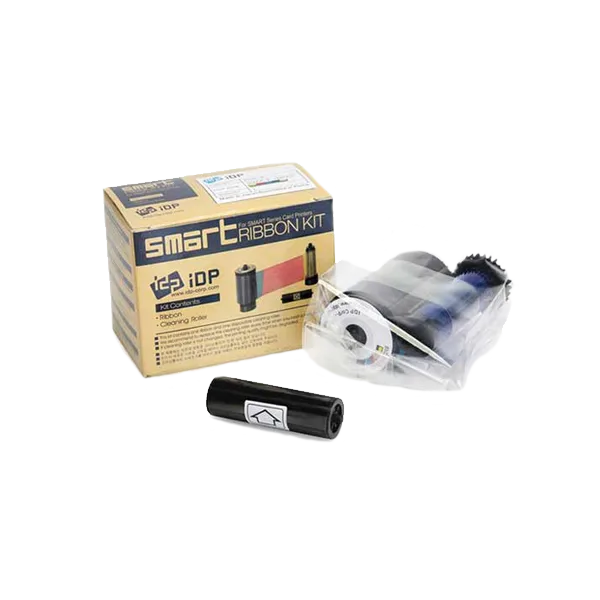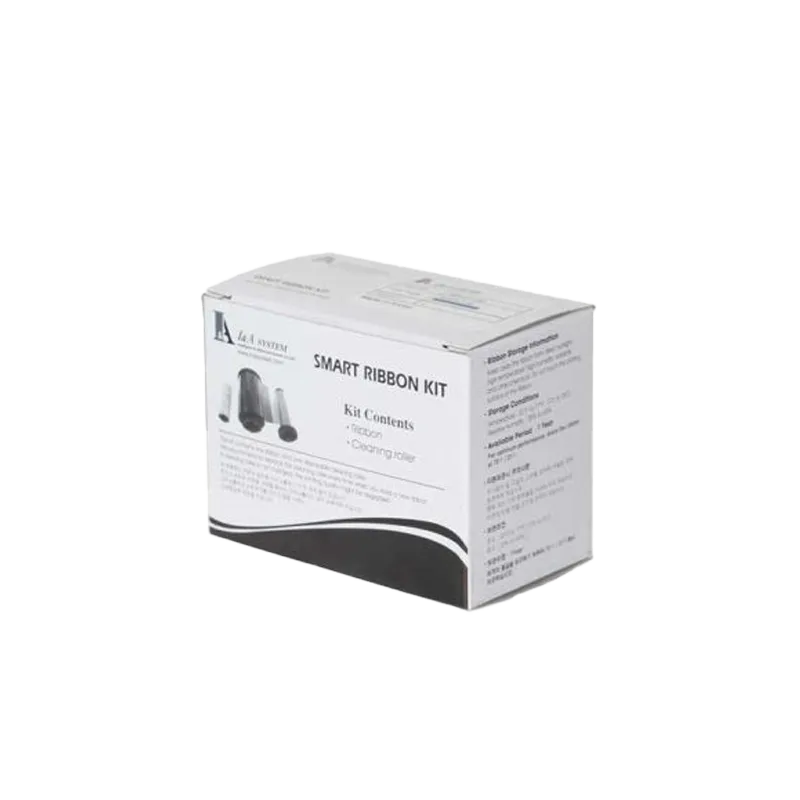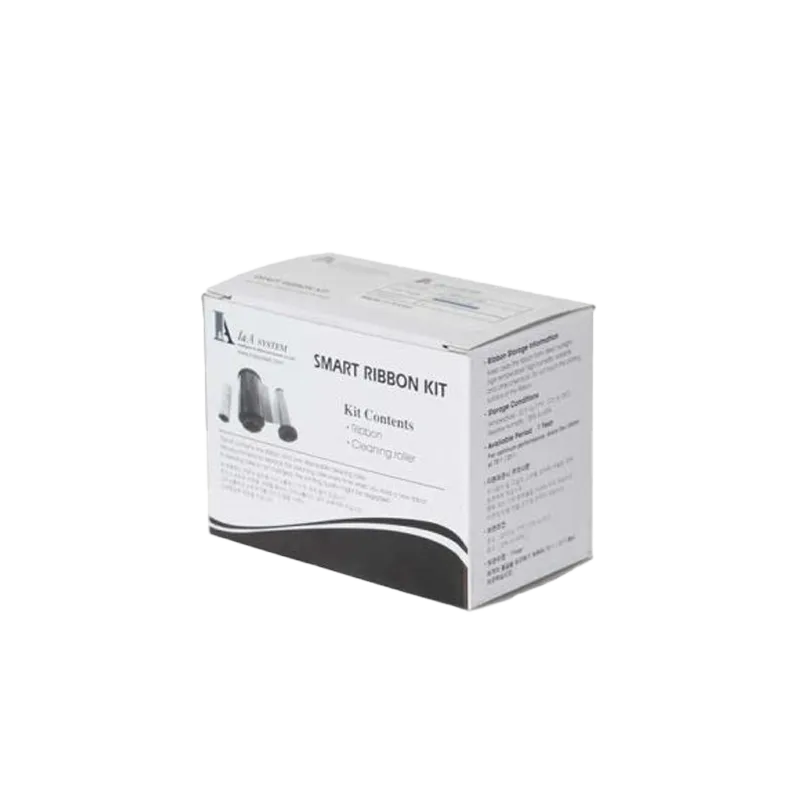


IDP650634 Smart 50 / 30 Ribbon

Smart 650634 Ribbon
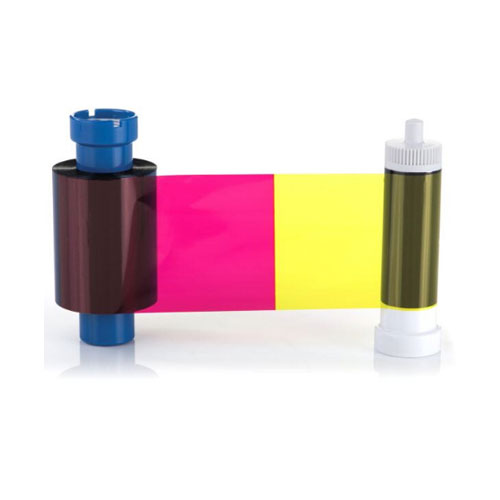
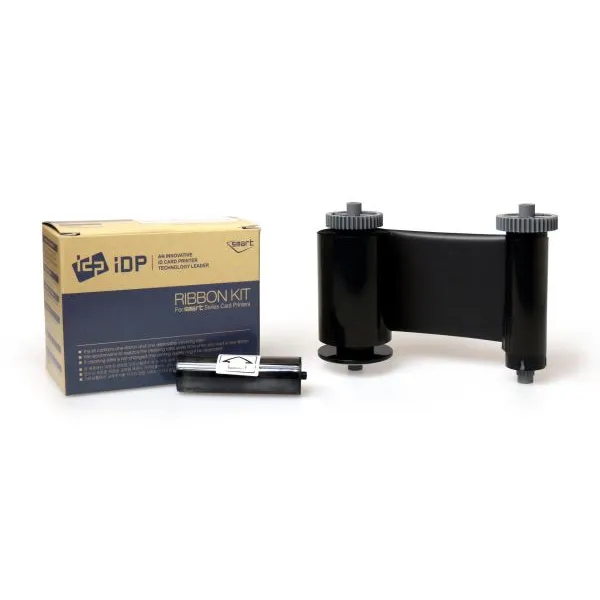
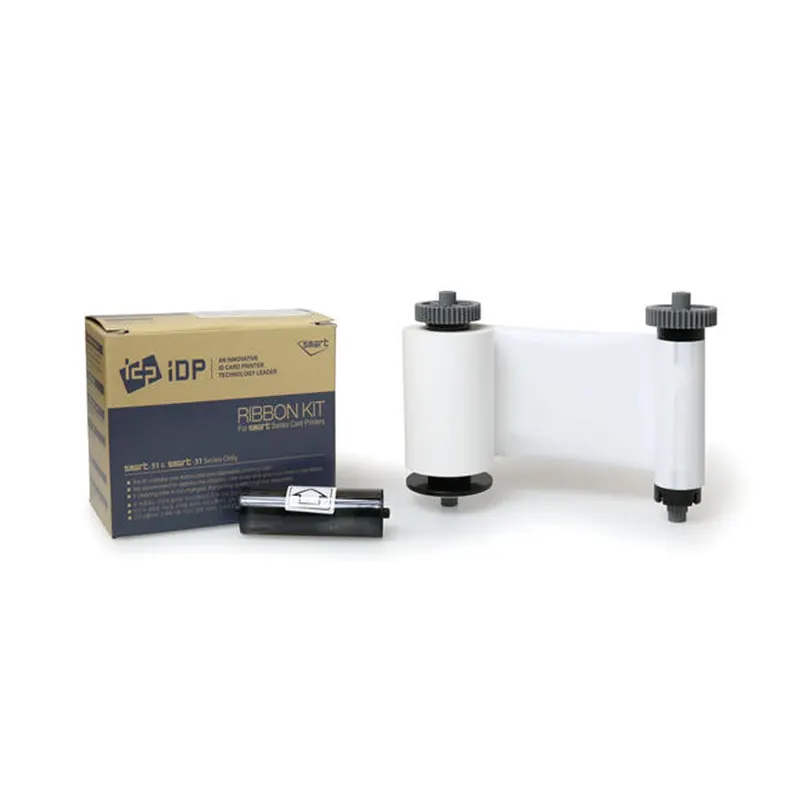
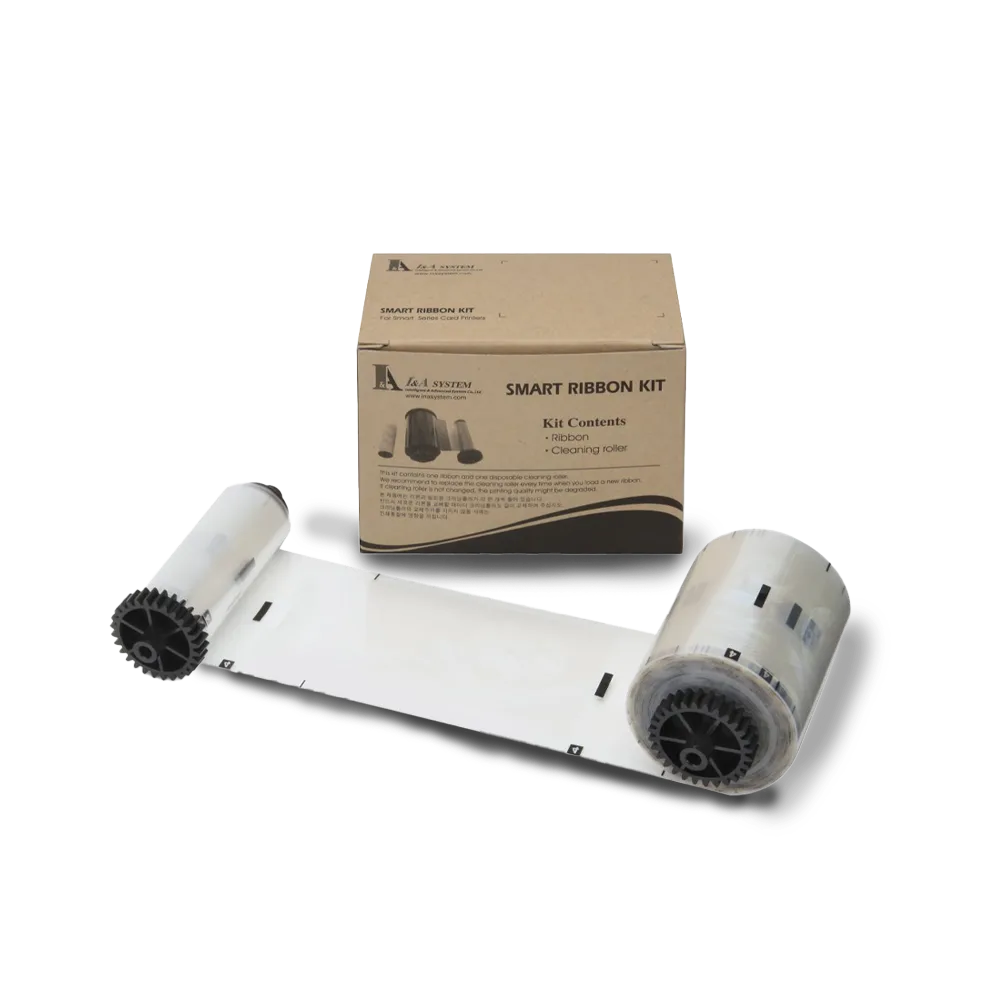
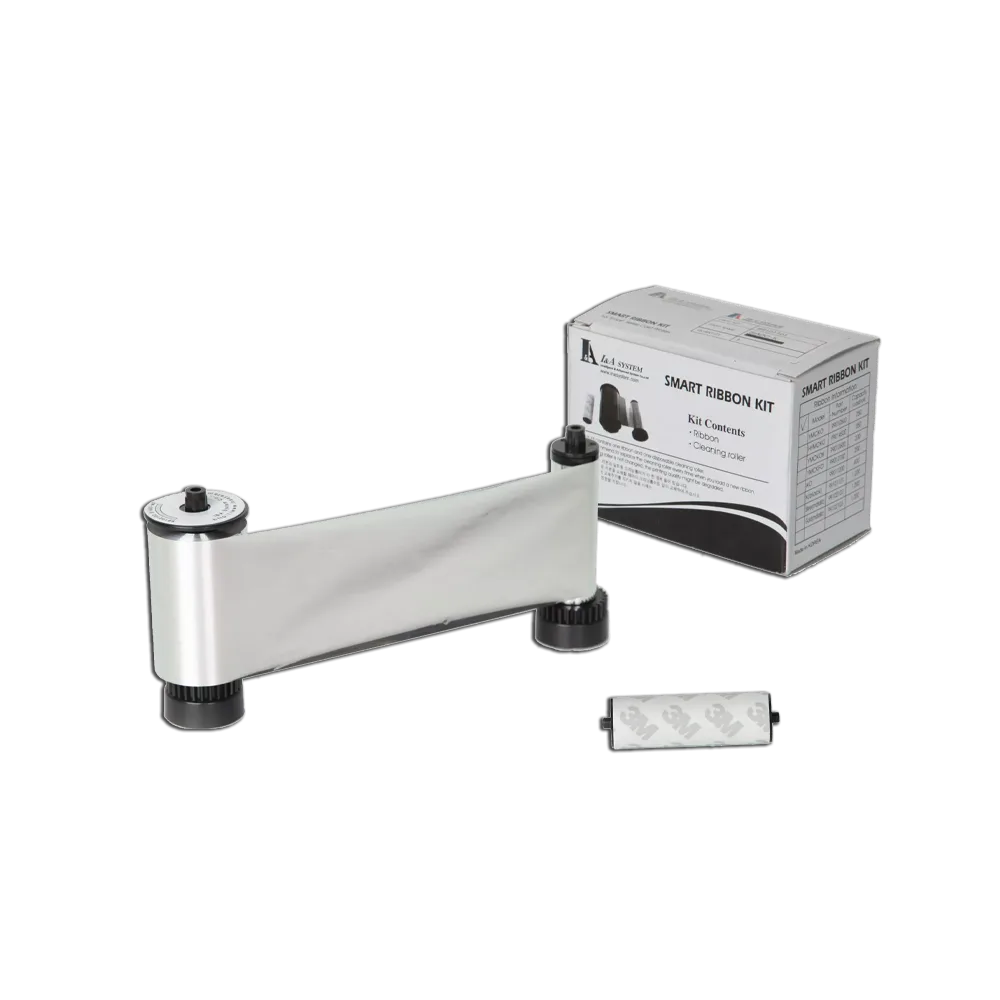
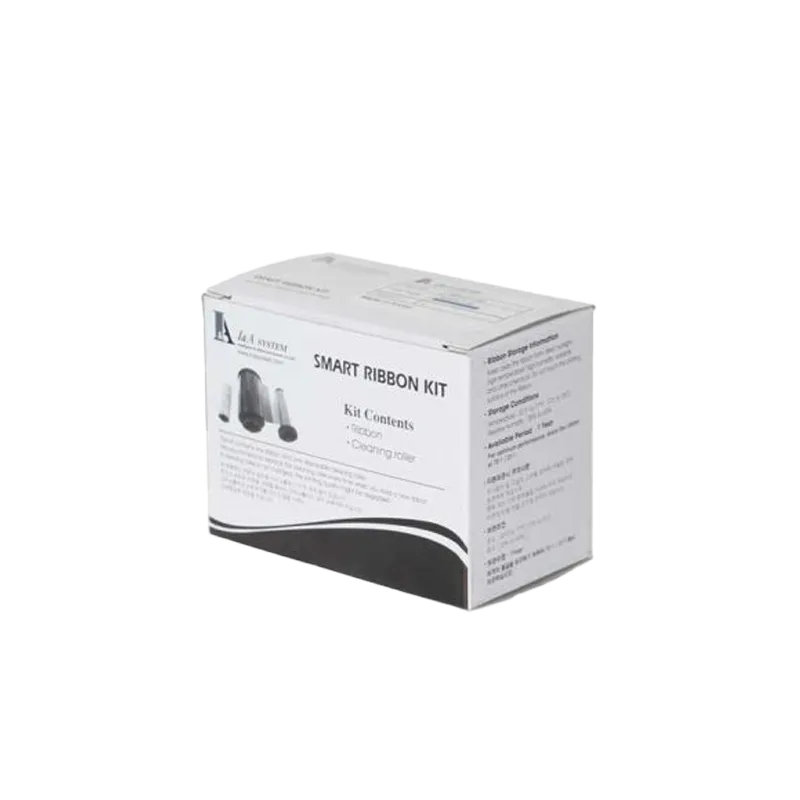
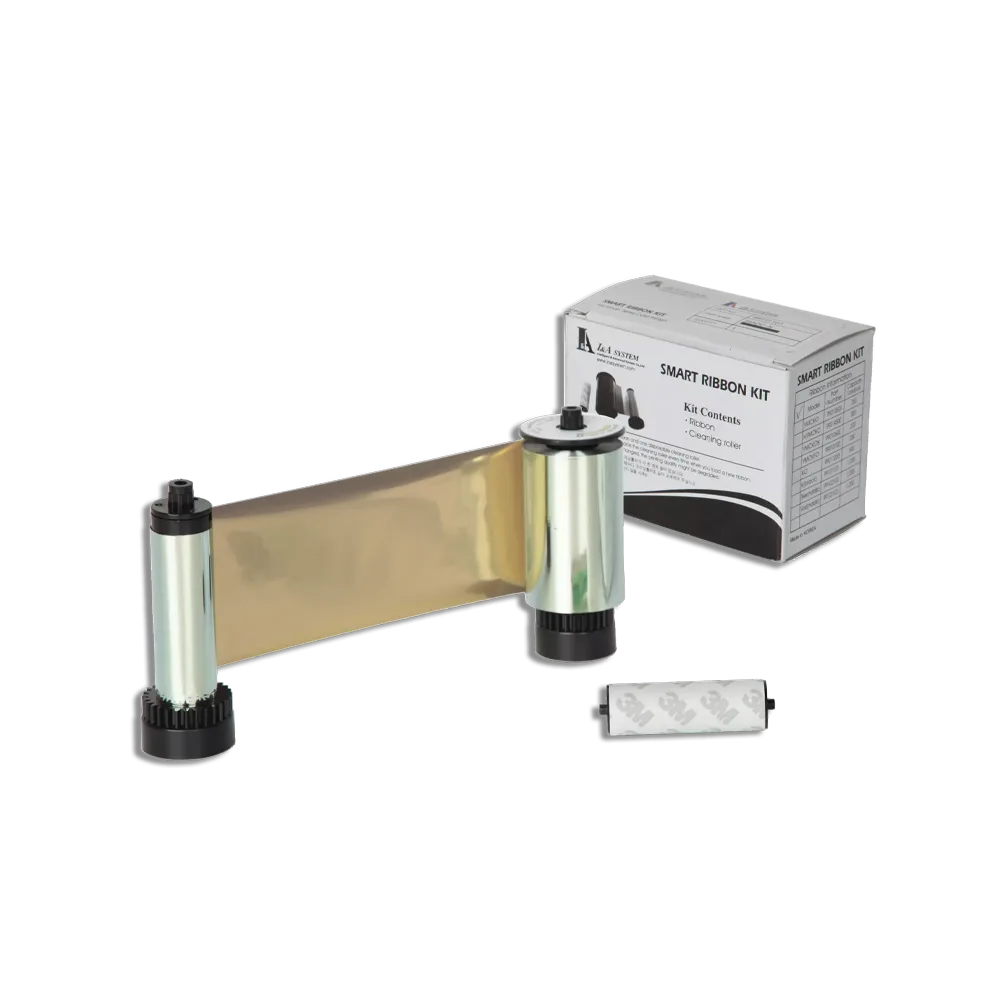
The YMCKO ribbon from IDP is a top-of-the-line printing solution that delivers exceptional print results. This full-colour ribbon is designed to produce 250 vibrant and accurate prints, making it ideal for high-volume printing applications. With its advanced colour representation, the YMCKO ribbon ensures that your prints are not only visually stunning but also accurately reflect the intended design.
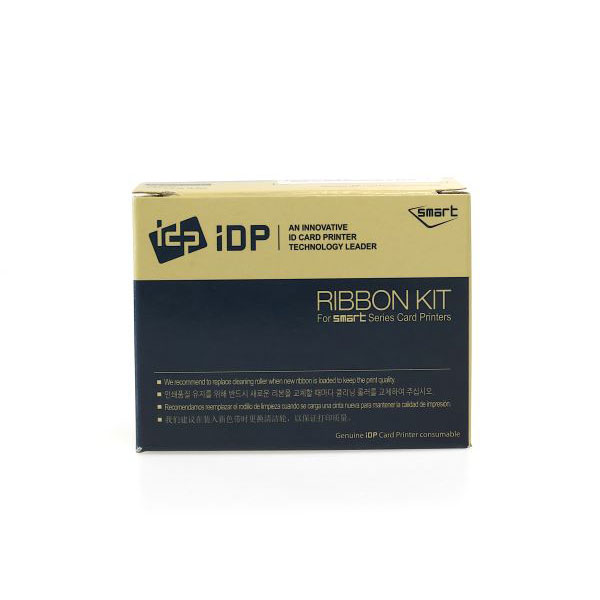
Using a genuine IDP YMCKO ribbon is crucial to maintaining quality performance and ensuring that your prints meet the highest standards. This ribbon features a unique combination of colours, including Yellow, Magenta, Cyan, Black, and Overlay, which work together to produce rich, detailed prints.
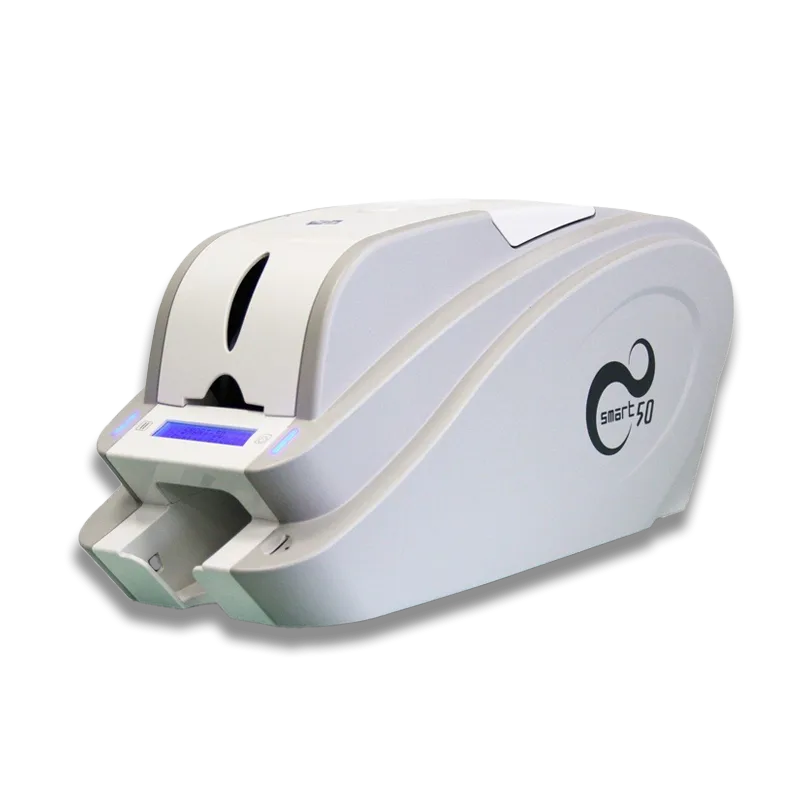
How to Change the Printer Ribbon for IDP Smart 30 & 50 Card Printer Models.
Prepare for Ribbon Replacement:
Before beginning, ensure you have the correct replacement ribbon designed for your specific printer model. Safety first: always turn off the printer to prevent any accidents.
Step 1: Access the Printer’s Interior
Locate the printer cover, typically on the top of the device. Gently lift the cover to reveal the internal components, including the ribbon cartridge.
Step 2: Remove the Old Ribbon
With the cover open, you’ll see the current ribbon cartridge. To remove it:
- Find the cartridge’s handle, usually at the top.
- Grip the handle firmly and pull upwards to release the cartridge from its housing.
- Set the old cartridge aside for proper disposal.
Step 3: Prepare the New Ribbon
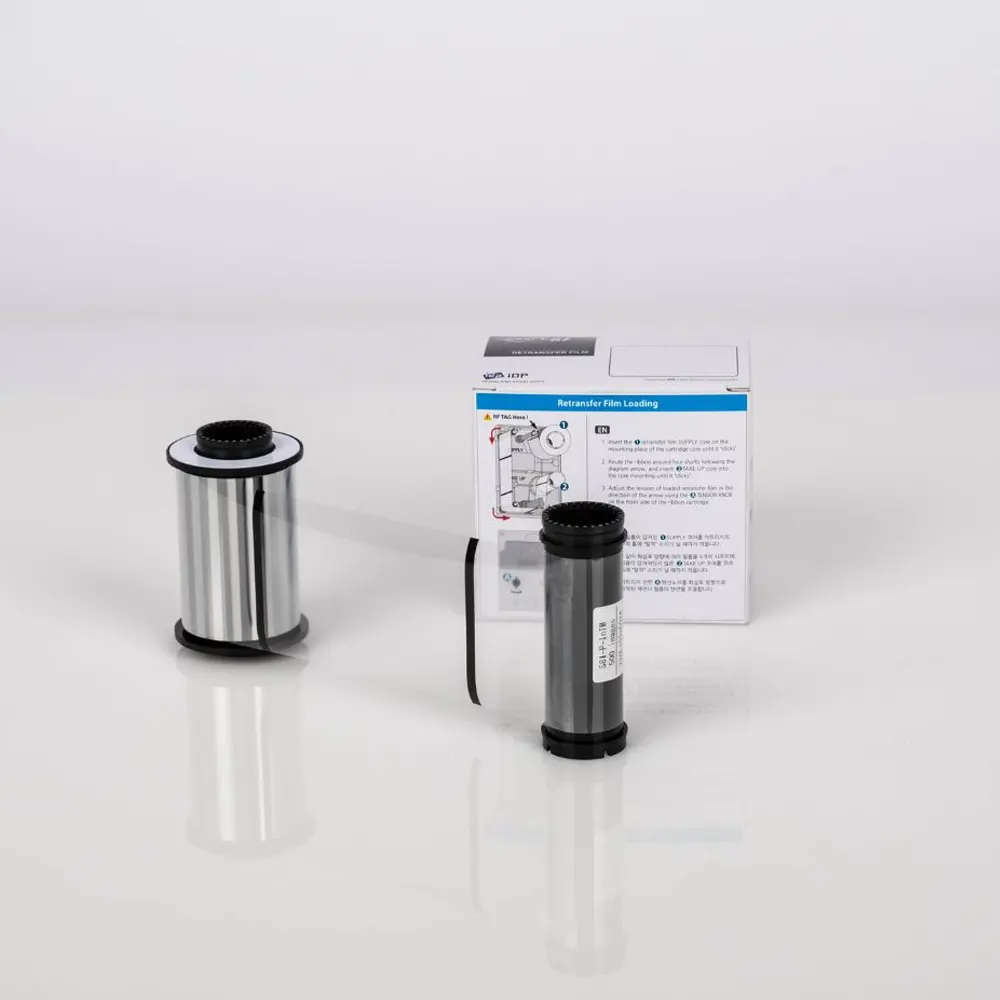
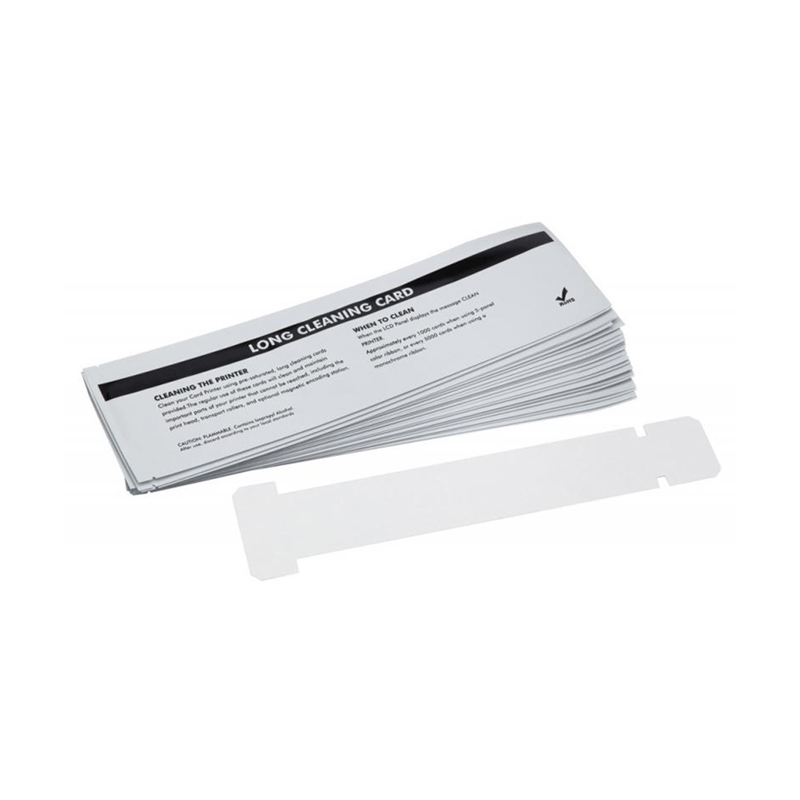
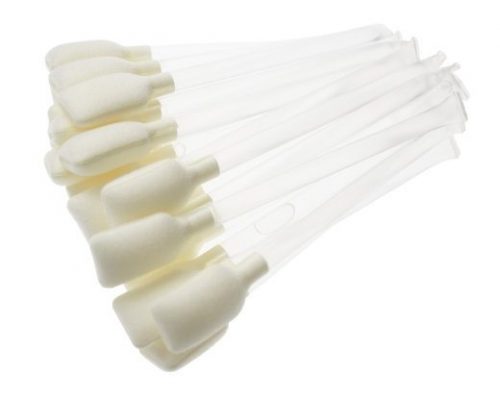
Take your new, compatible ribbon cartridge and remove any packaging or protective coverings. Handle the new ribbon with care to prevent damage. If necessary, clean the area with an official cleaning kit.
Step 4: Install the New Ribbon
To insert the new cartridge:
- Hold the cartridge by its handle, ensuring the ribbon is facing downwards.
- Align the cartridge with the designated slots inside the printer.
- Gently slide the cartridge into the slot until it fits securely.
Step 5: Check Alignment
After insertion, ensure the new cartridge is properly aligned within the printer. Misalignment can cause printing issues, so take a moment to verify its position.
Step 6: Secure the Printer Cover
Lower the printer cover back into its original position and ensure it closes securely. This protects the internal components and keeps the new cartridge in place.
Step 7: Power Up and Initialize
Turn on the printer. It will go through a brief initialization process, and your new ribbon will be ready for use.
These steps should ensure a smooth and safe ribbon replacement process.

Talk to us today for advice on all things identification.
Related products
Printer Ribbons
Smart 81 Ribbons
Printer Ribbons
Printer Ribbons
Printer Ribbons
Printer Ribbons
Printer Ribbons
Datacard Ribbons
Datacard Ribbons
Smart Ribbons
Printer Ribbons
Smart 30 Ribbons
Printer Ribbons
Printer Ribbons
Printer Ribbons
Printer Ribbons


