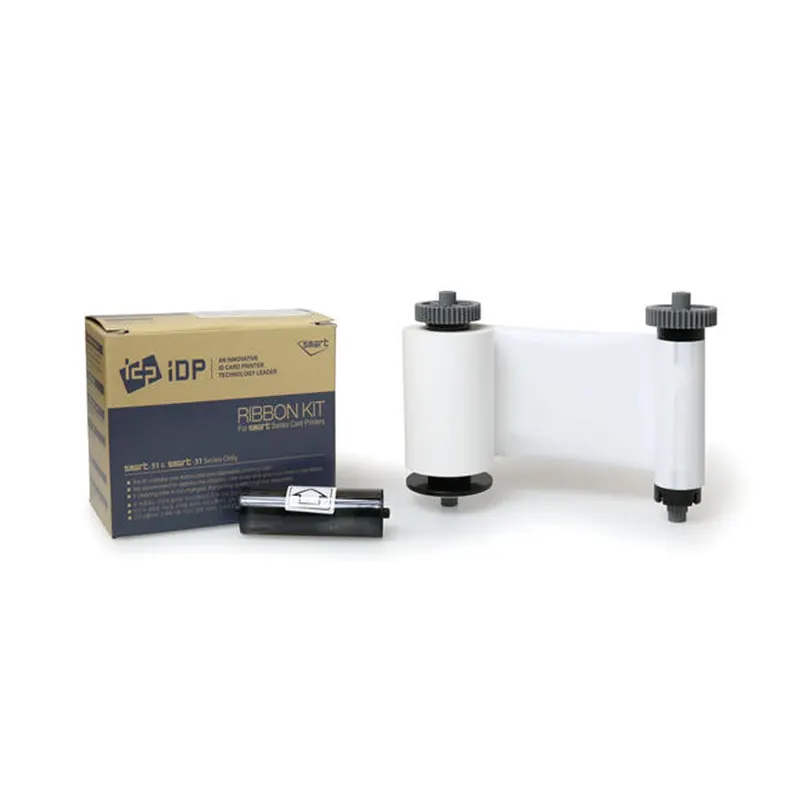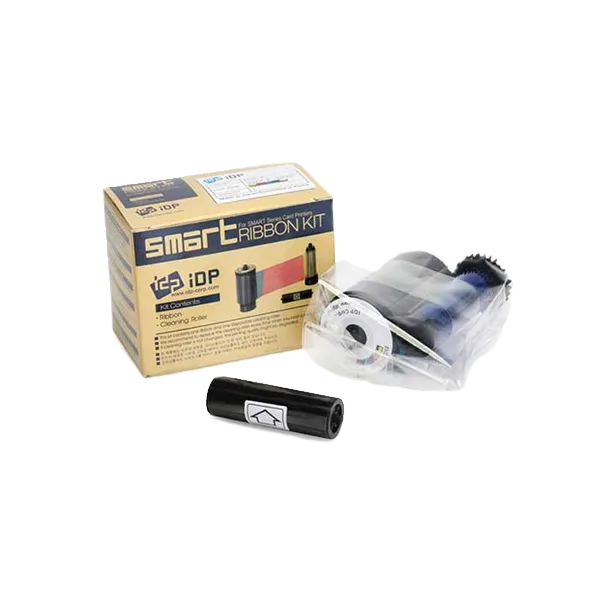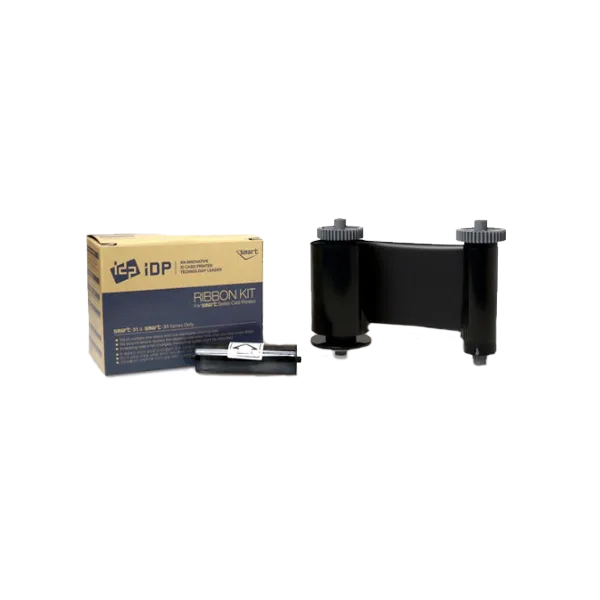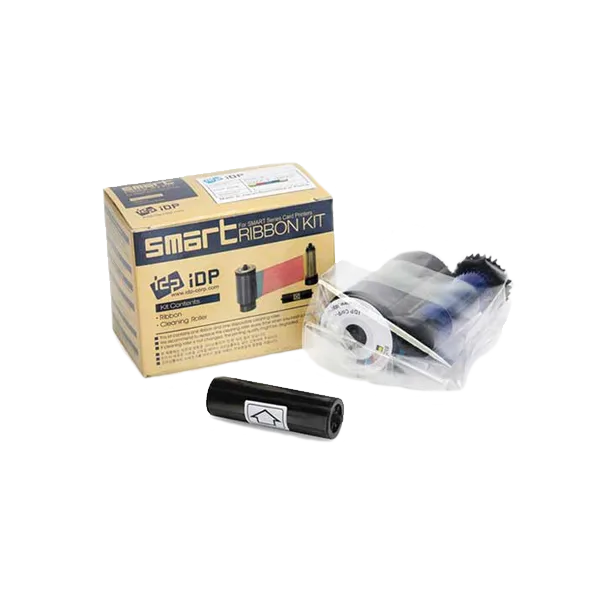


Smart 51 659366 Ribbon YMCKO

-
Smart 659366 Ribbon
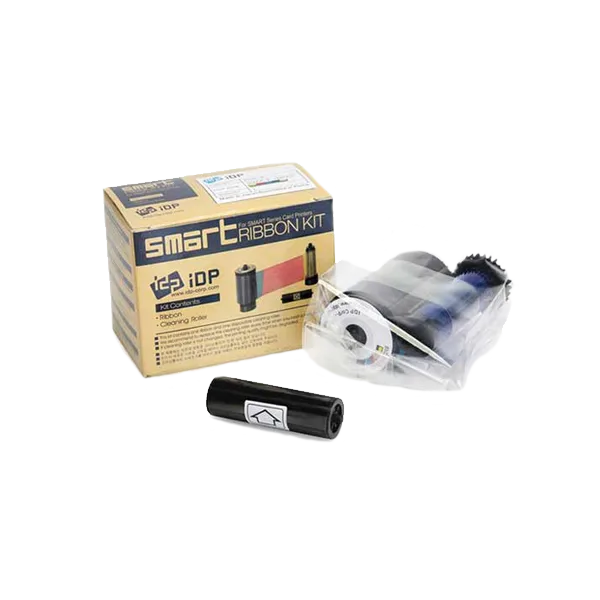
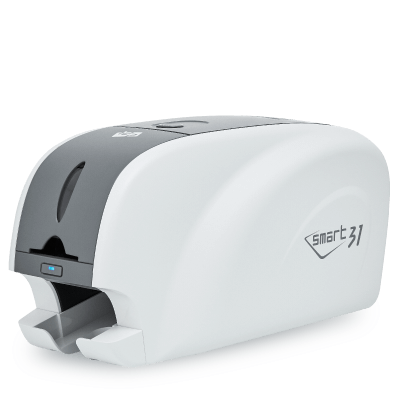
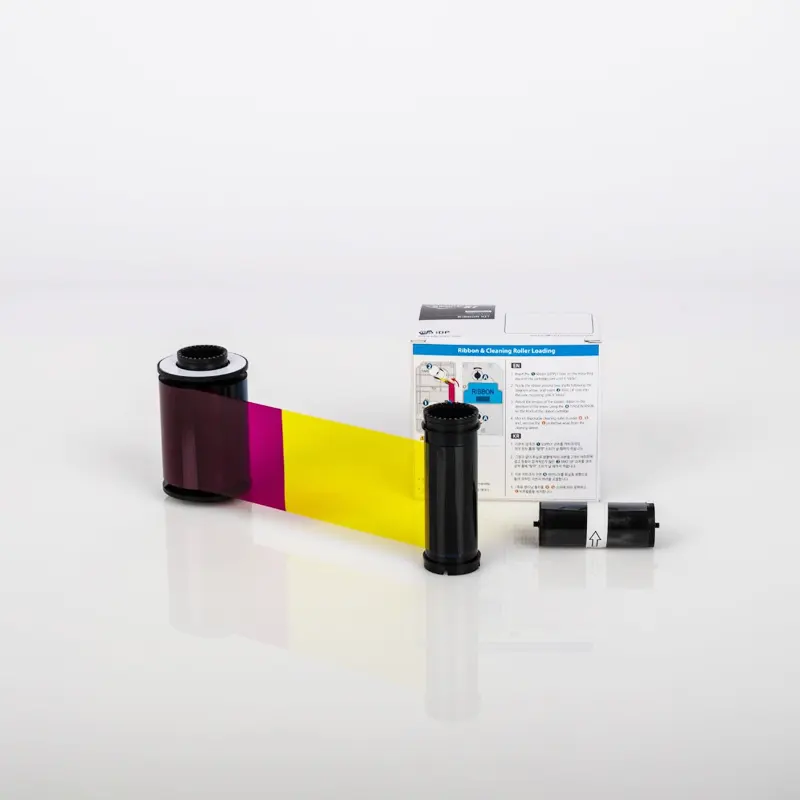
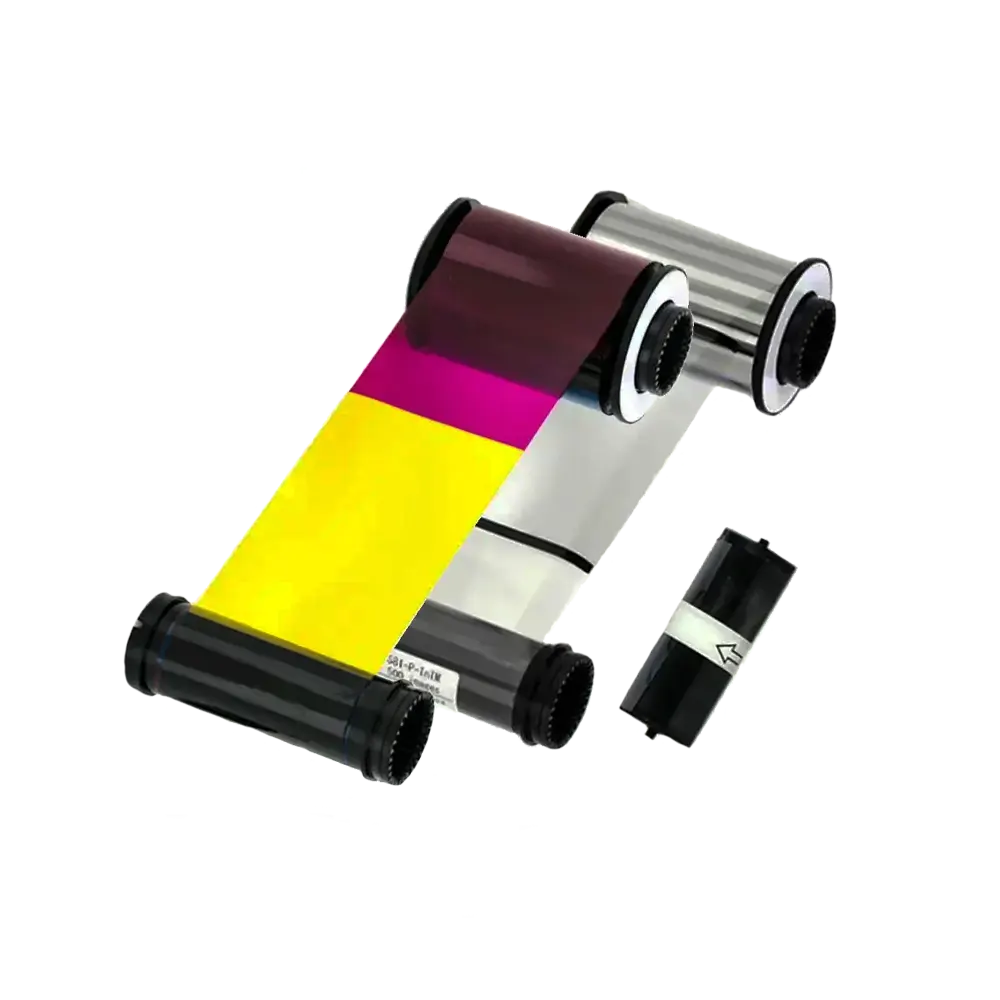
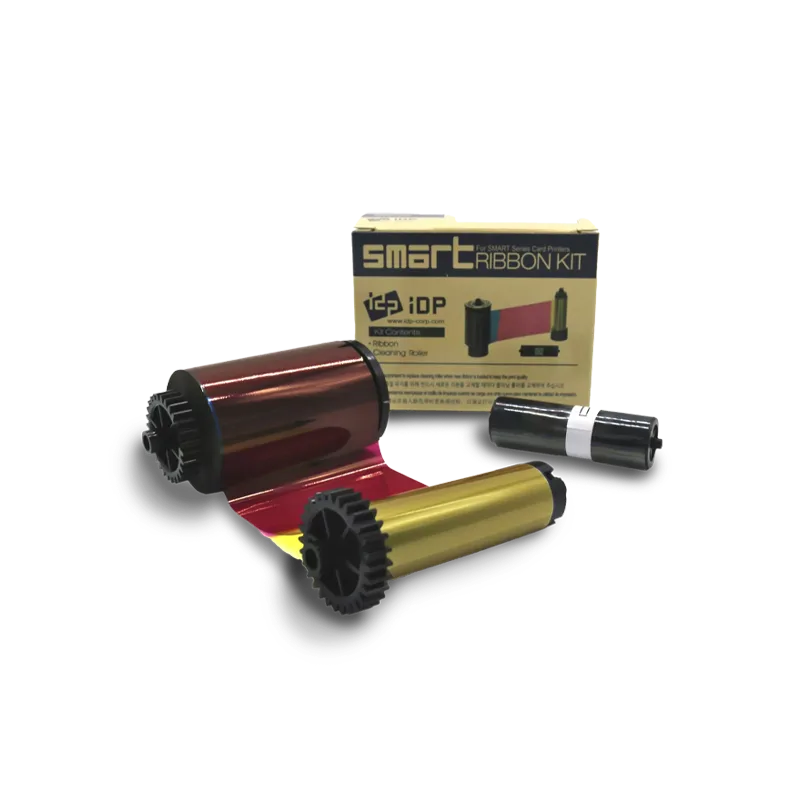
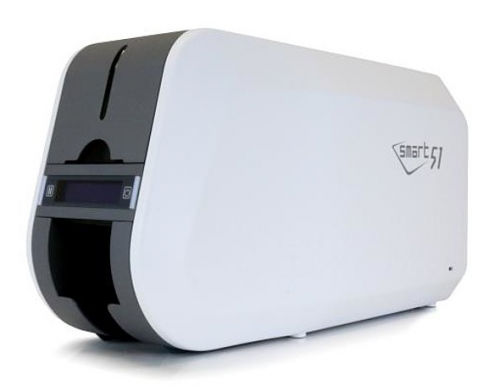
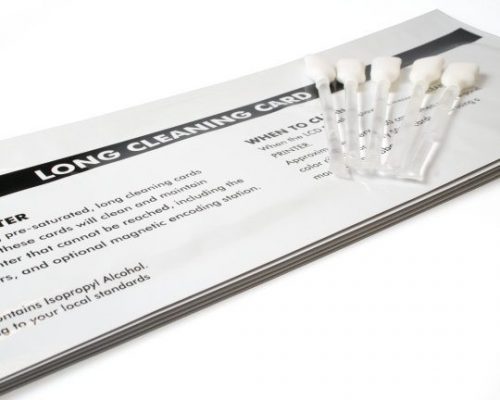
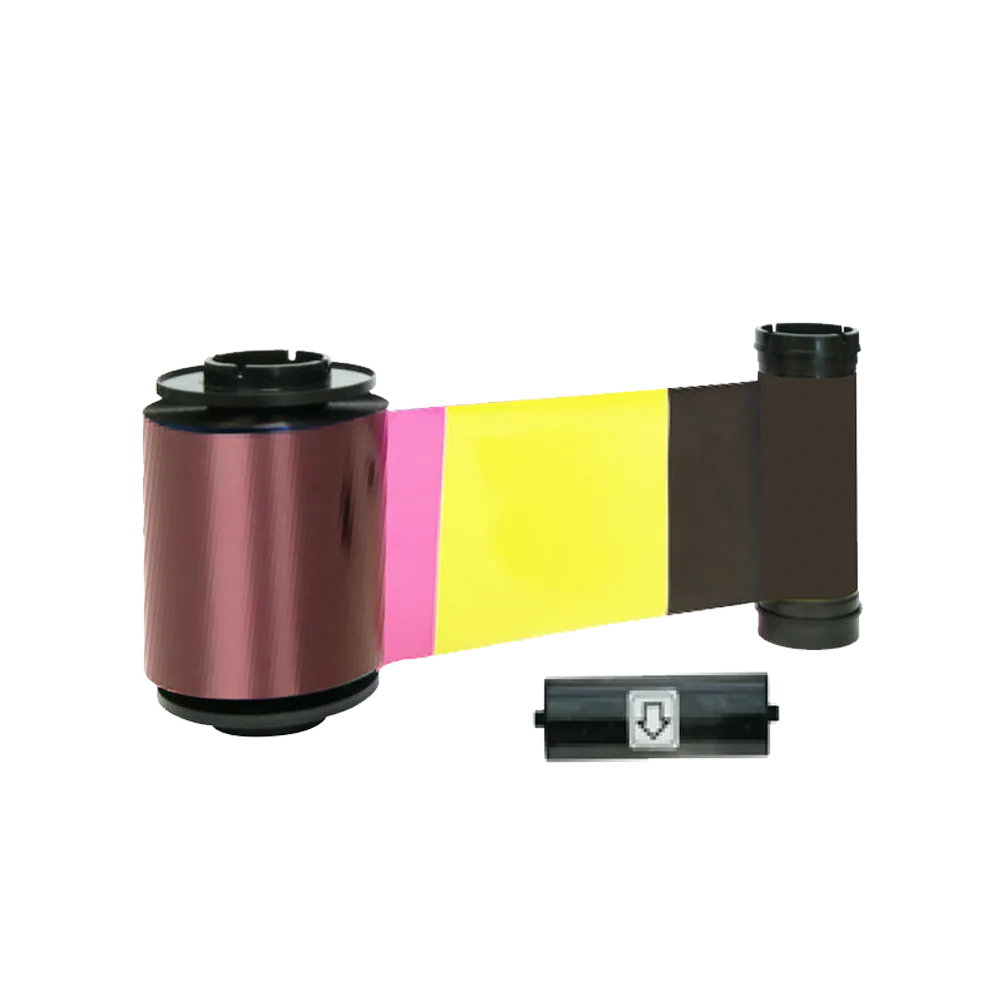
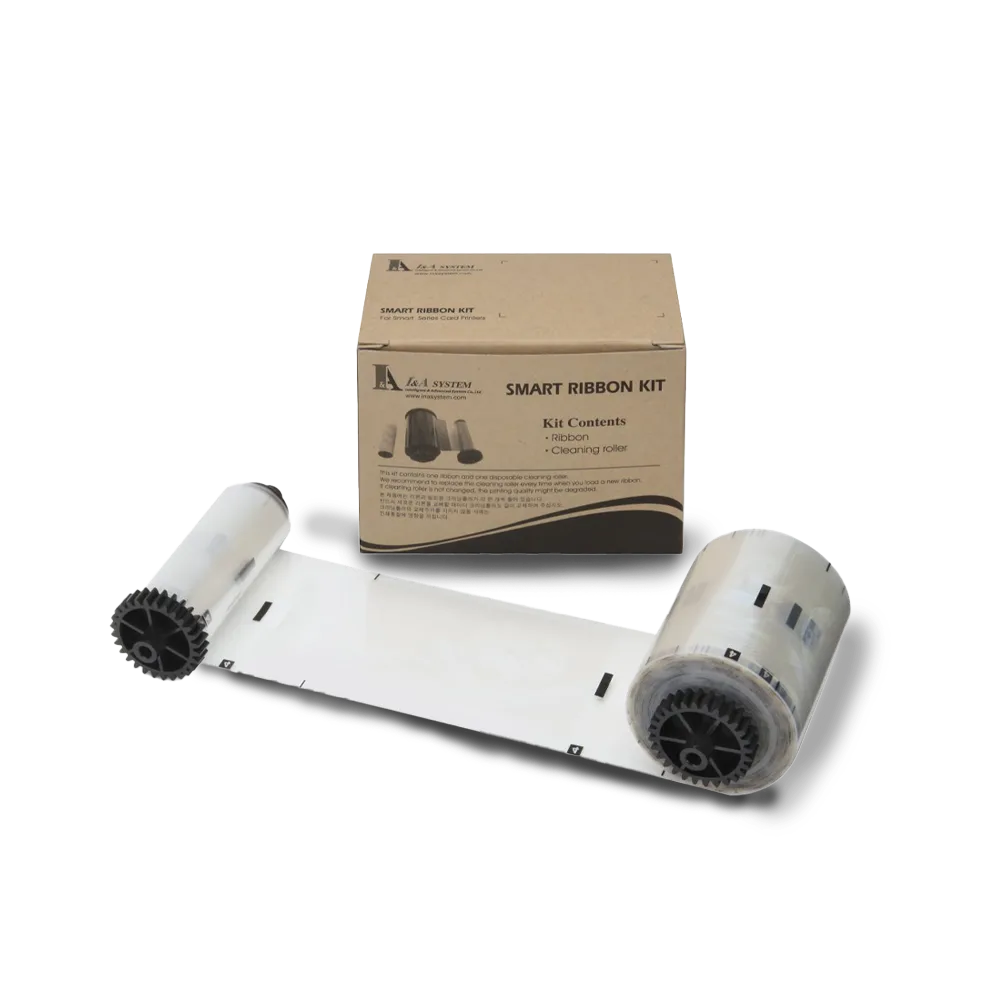
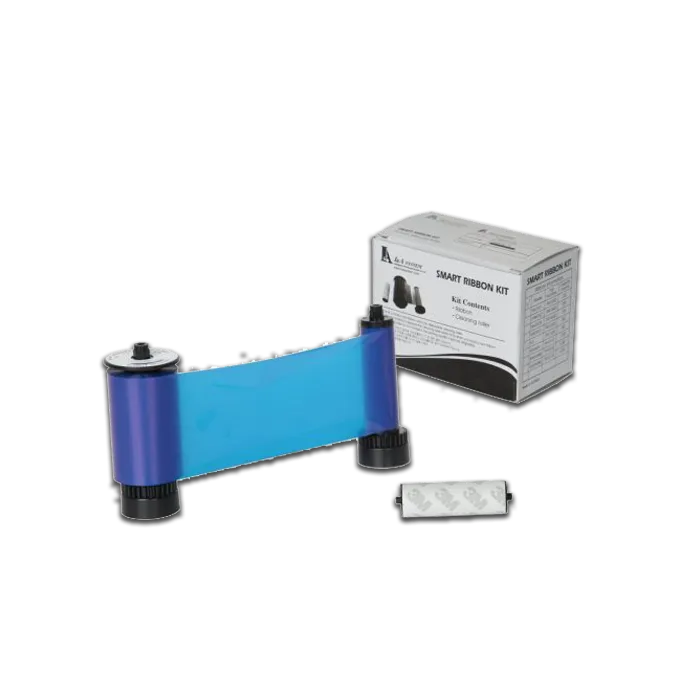
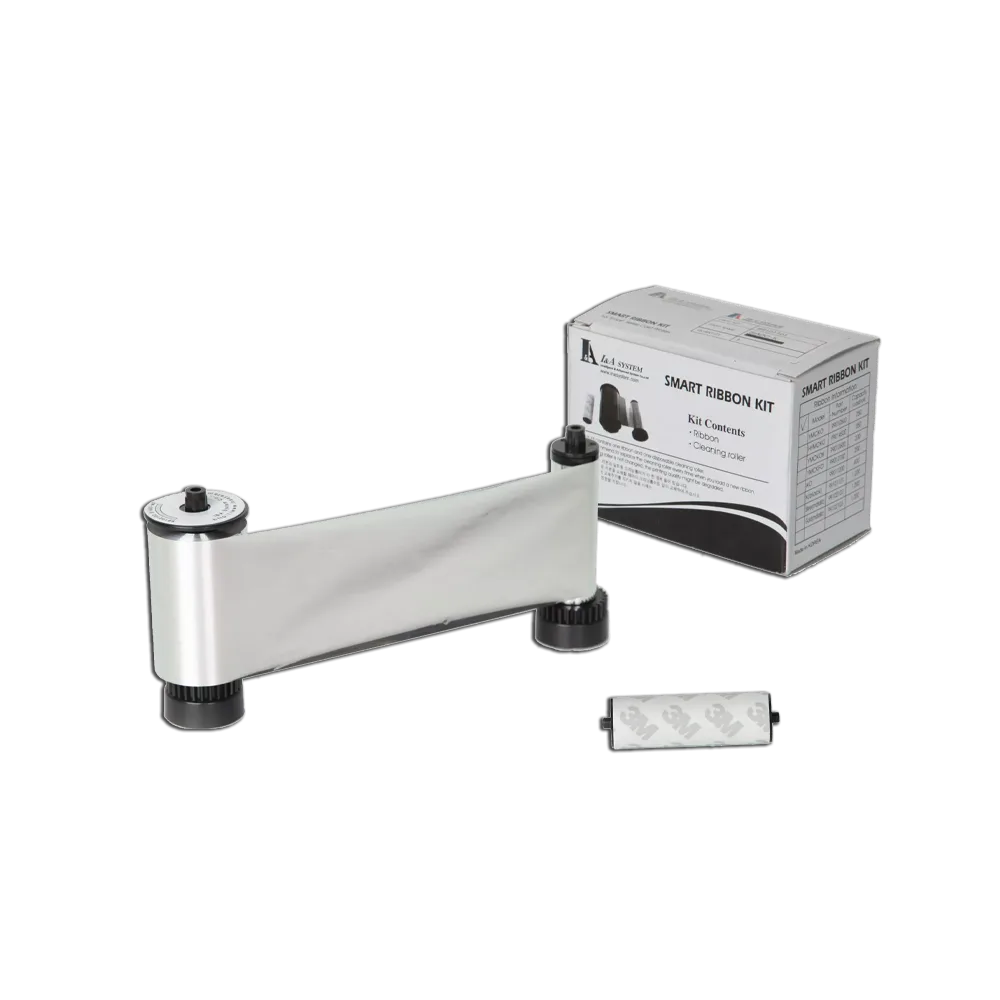
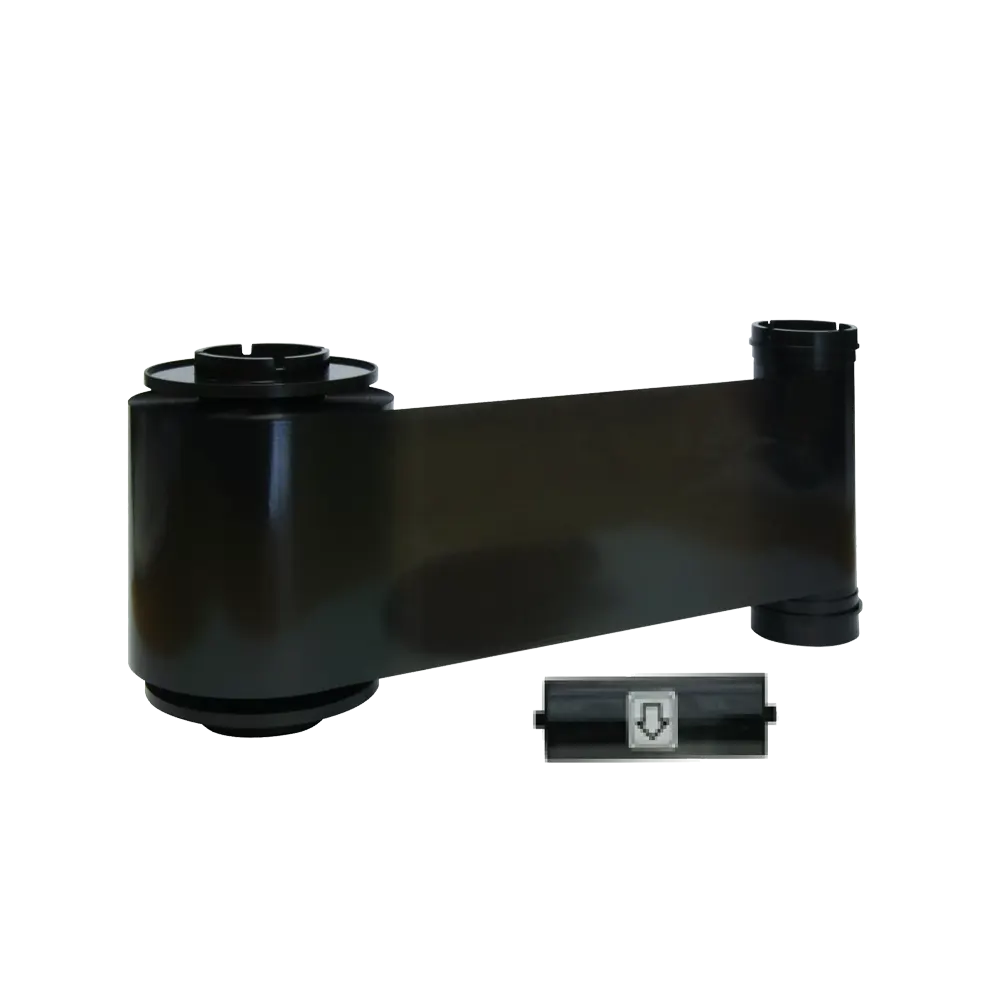
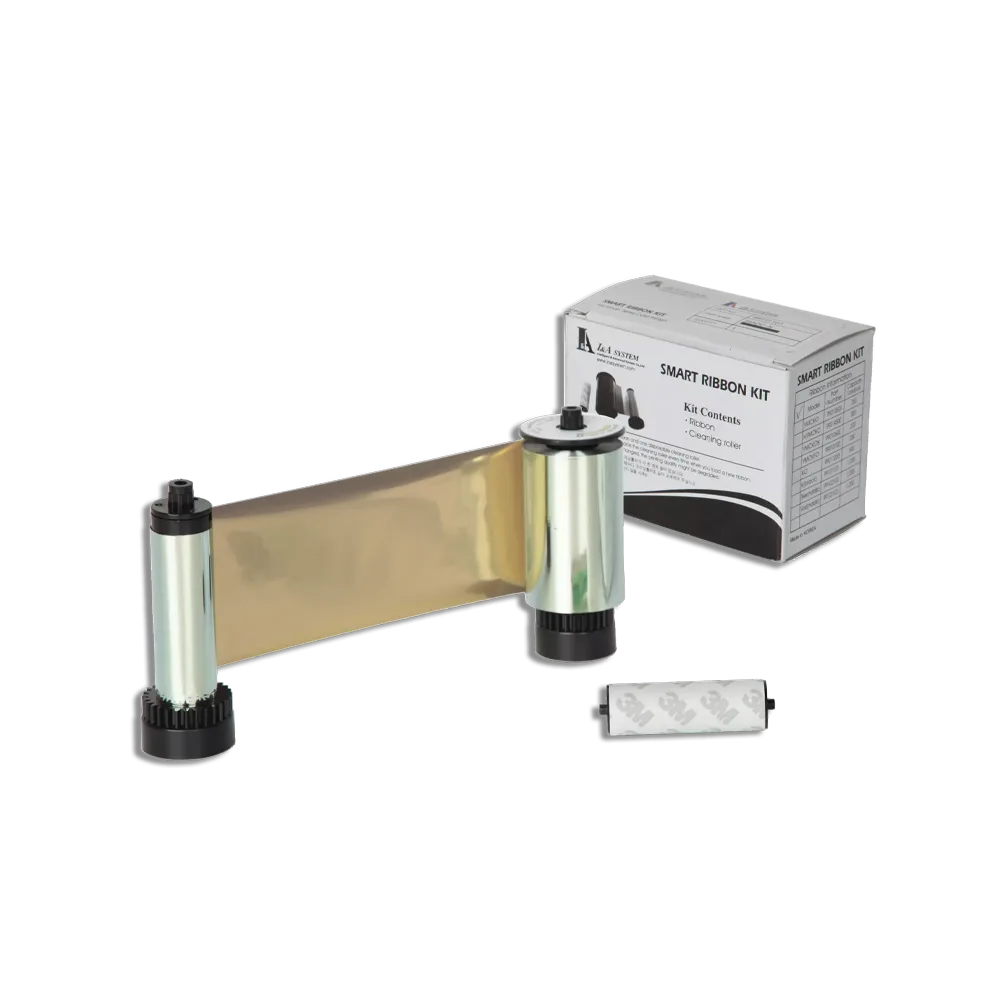
Achieve exceptional print quality with the IDP Smart 659366 YMCKO color ribbon, designed specifically for IDP Smart 31 & 51 printers. This ribbon is ideal for printing vibrant, full-color plastic ID cards. Featuring four color panels, it offers up to 250 full-color prints per roll. The additional fifth overlay panel ensures your cards are not only visually stunning but also highly durable. To assist with installation, we’ve provided a detailed how-to video. Each ribbon also comes with a cleaning roller to maintain printer performance.

659366 Ribbon Replacement Guide For Smart 51 / 31 Printer
Preparation:
- Verify Compatibility: Ensure that the replacement ribbon cartridge is specifically designed and compatible with your printer model.
- Power Off the Printer: Safety first. Turn off the printer and unplug it from the power source to prevent any accidental operation during the ribbon replacement process.
Procedure:
Open the Printer Cover:
- Locate and gently lift the cover on the top of the printer to access the internal components, including the ribbon cartridge.
Remove the Old Ribbon Cartridge:
- With the cover open, identify the current ribbon cartridge.
- Grasp the handle on the top of the cartridge.
- Carefully pull the cartridge upwards to disengage it from the printer housing.
- Set aside the old cartridge for proper disposal.
Prepare the New Ribbon Cartridge:
- Remove all packaging materials and protective tapes from the new ribbon cartridge.
- Handle the new cartridge with care to avoid any damage.
- Clean the installation area using an officially licensed cleaning kit.
Insert the New Ribbon Cartridge:
- Hold the new cartridge by its handle, ensuring the ribbon is facing downwards.
- Align the cartridge with the designated slots inside the printer.
- Smoothly slide the cartridge into the slot until it clicks securely into place.
Verify Proper Alignment:
- Confirm that the new cartridge is correctly seated and properly aligned with the printer’s printing mechanism.
- Ensure alignment to prevent any potential printing issues.
Close the Printer Cover:
- Carefully lower the printer cover and ensure it locks securely into place.
- This step protects the internal components and secures the new ribbon cartridge.
Power On the Printer:
- Reconnect the printer to the power source and turn it on.
- The printer will perform an initial setup process, preparing the new ribbon for use.

Talk to us today for advice on all things identification.
Related products
Smart 81 Ribbons
Smart 81 Ribbons
Printer Ribbons
Printer Ribbons
Printer Ribbons
Printer Ribbons
Printer Ribbons
Printer Ribbons
Uncategorized
Printer Cleaning Kits
Printer Ribbons
Smart Ribbons
Printer Ribbons
Printer Ribbons
Printer Ribbons
Printer Ribbons


